Rehab Recap: The Masonry, Part 1
I started this blog to chronicle the rehabilitation of my 1890s house, and damn it that’s what I’m going to do. Even if I am a bit behind with my updates. So, in an effort to get you all up to speed, I’ll be posting my Rehab Recaps, giving an overview of everything that has occurred between the fall and now. What I lack in timeliness I hope to make up for in… something else.
The McLain House retains many of her original features… unfortunately, mortar wasn’t one of them. When I purchased the house, water infiltration through the bricks was by far the primary concern.
Most people, when walking through the house worried about things like missing windows or asked if it was safe to step here or there. But the thing about old houses is… holes in the ceiling don’t just happen, you have to find the root of the problem.
In my case, the root of the problem was the fact that the house hadn’t had functioning gutters in who knows how long. No gutters=no where for the water to run, except down the face of the bricks. When that happens year after year, the mortar, or glue between the bricks, starts to wash away, and compromise the whole structure.
So, before I could address the gutters, major sections of the house needed to be rebuilt. These sections were mostly where the original gutters had fit into the house, leaving gaps, and corners where two planes of the roof met, and water ran down. In these areas, the mortar was so far gone the only thing holding the bricks in place was essentially gravity. Let’s just say deconstruction was not a time intensive part of this process.
The Repairs
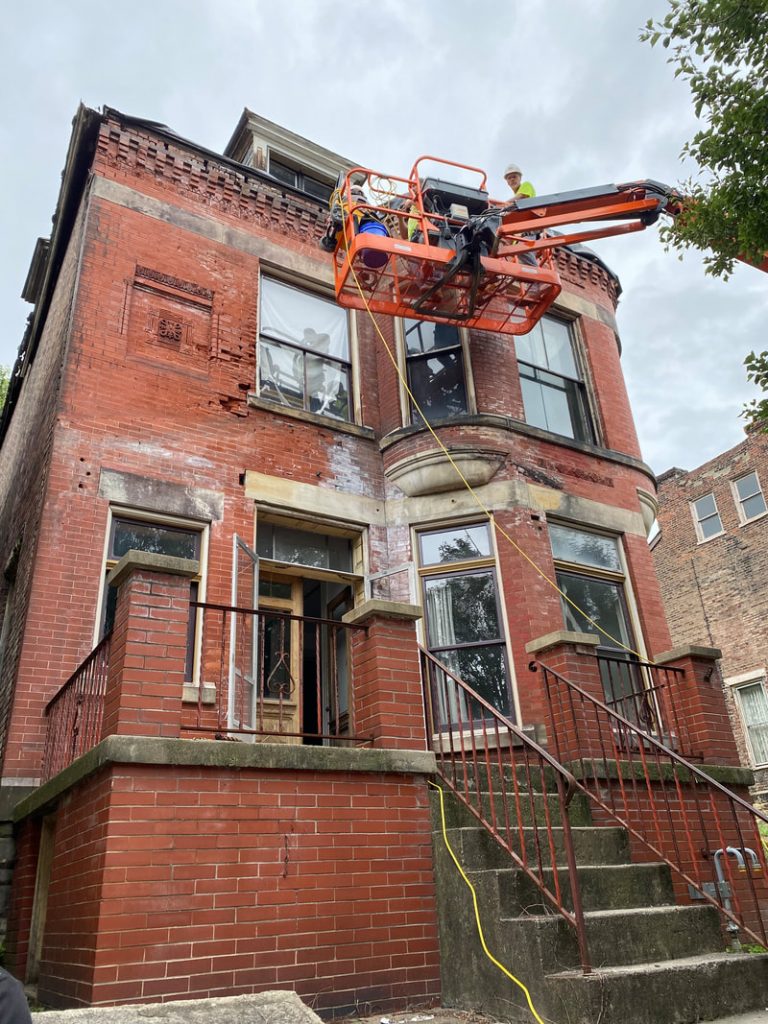
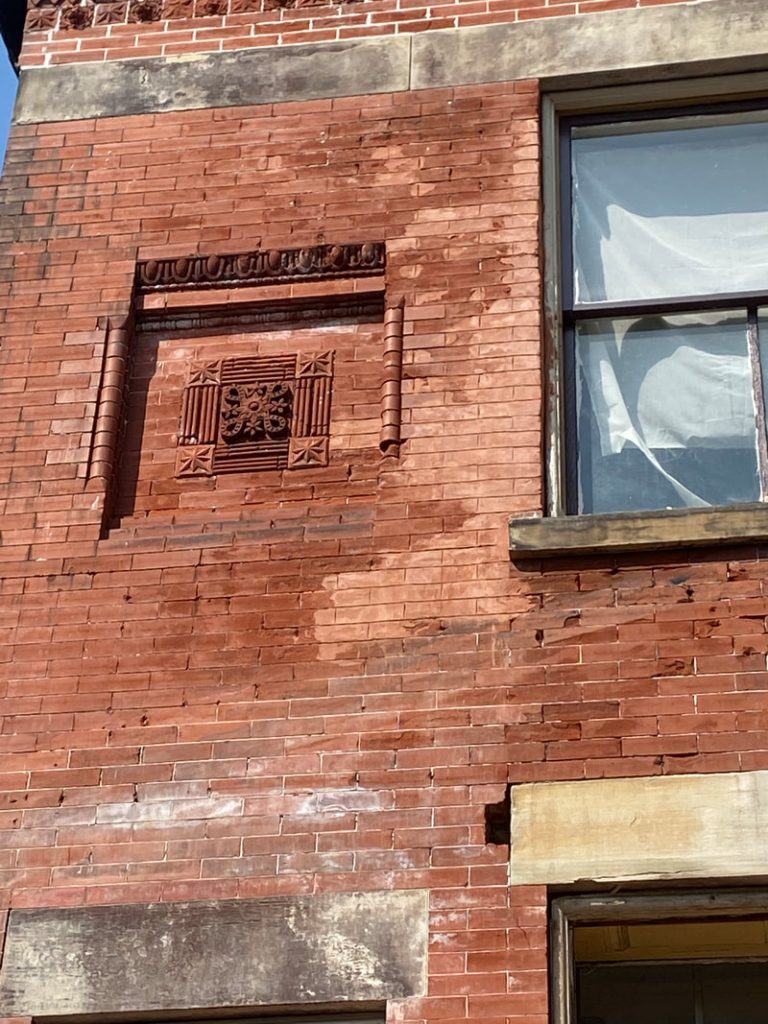
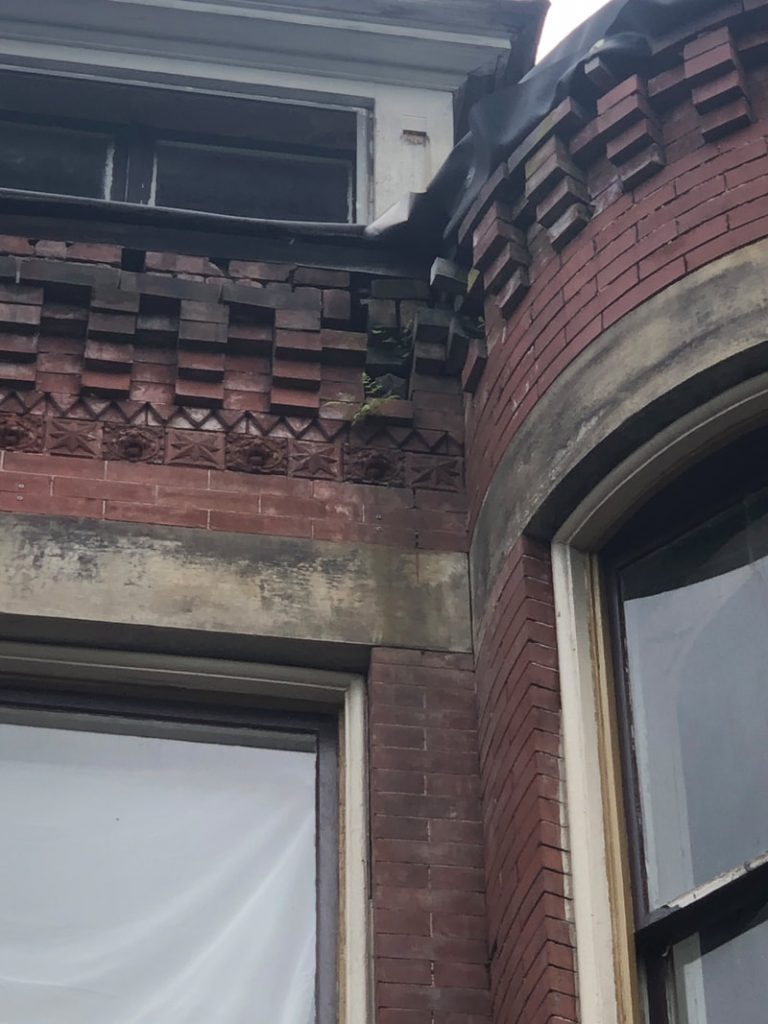
Of all the old house tasks, masonry is probably my favorite, but even I know my limits. The front façade of my house has a much finer, red brick face with decorative molded brick, step corbels at the cornice, and very tight, bright white butter joints. In plain English, it’s fancier and more complicated than the rest of the house, because when it was built, the neighboring properties were close enough that the front façade was the only elevation intended to be visible from the street. The fancy stuff went on the front, and the other three sides used any old rough brick, and a big fat common bond. Knowing this, I decided to hire out the front façade work, and a few areas of major relaying, and tackle the rest myself.
The Pros
I worked with Trisco Systems out of Lima, OH, and I couldn’t love them more. Finding quality masons with experience with historic brick that actually want to do the job and won’t cost a fortune is…not easy. I probably met with a dozen masons, getting quotes ranging from 20-65k. If something doesn’t feel right, ALWAYS get more quotes. Call people a little further away then you typically would, and ask everyone you know with an old building who they used. An ounce of prevention (due diligence) is worth a pound of cure (redoing work that you overpaid for/ruined your building/was done by a contractor you hated).
What They Did
The bulk of their work was on the façade, where all of the brick above the stone banding was repointed, and a substantial portion needed to be relayed. Once things got started, it was discovered that even more brick than initially accounted for needed to be replaced, and the price would go up. This was obviously not a happy discovery, but, it underscores my cardinal rule: add 20% to any estimate you get. Especially stuff that requires demo before the work starts (you never know what is being held together by paint, siding, wallpaper, etc.) or anything that just gives you a bad feeling. Add 20%, if you’re still okay with that number, move forward, and if you expect everything will go wrong, you can’t be discouraged.
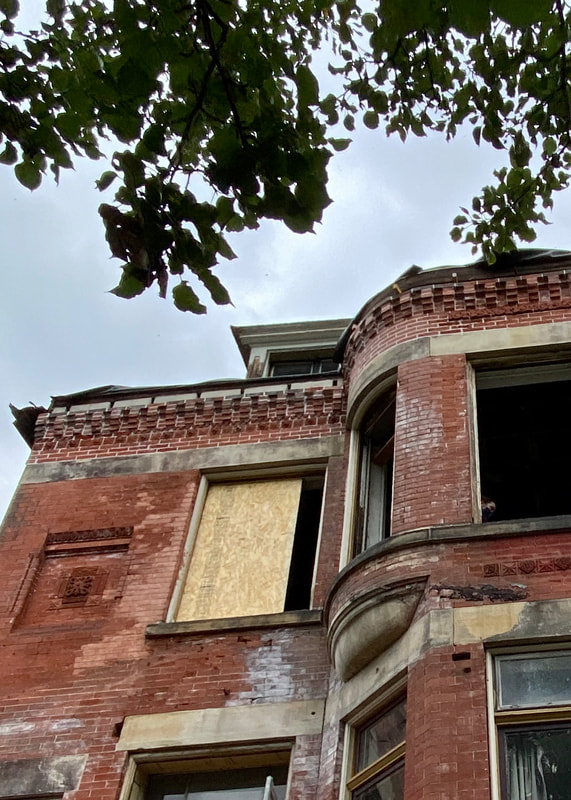
Anyway, the top course, which would typically be hidden by the box gutters, was replaced with CMU block, no big deal. But the lower courses, which are visible, also needed a significant percentage of brick replacement. This was a bit challenging since most historic brick readily available is the rougher, chunky stuff the rest of the house is made of.
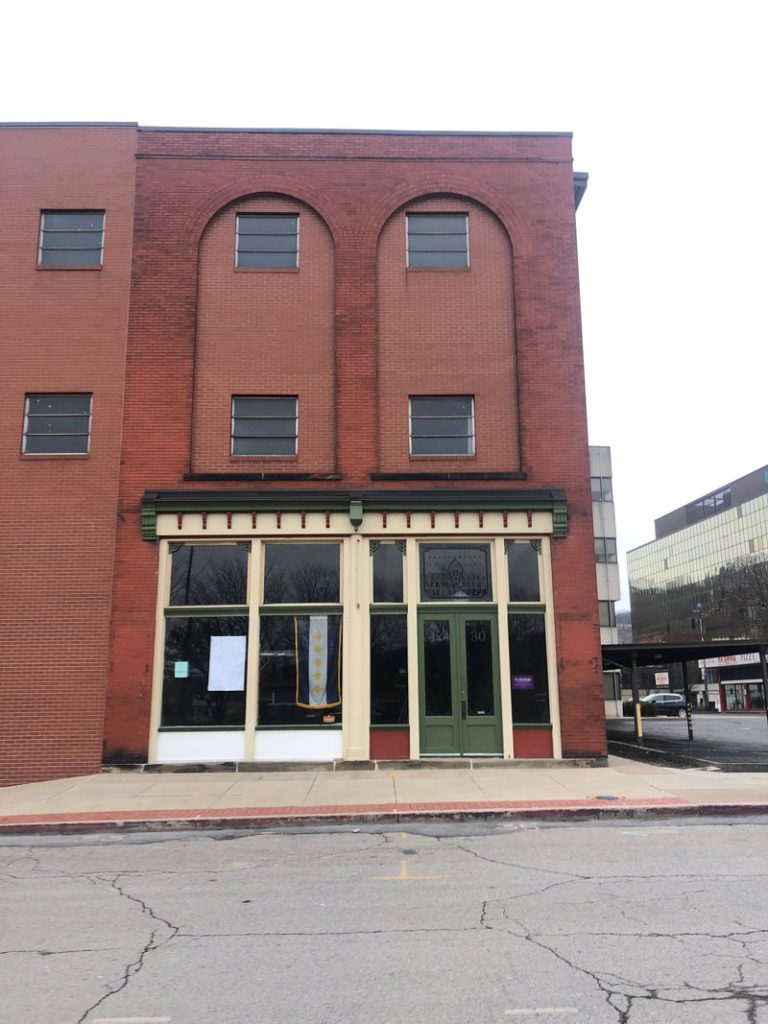
Fortunately, I had access to another brick source, with a more meaningful connection. My boyfriend Dan’s building is another gem in Wheeling, with a rich history and a beautiful turn of the century façade. In the 1960s, the sweeping, two story windows were bricked in with as close a match as could be found. This summer, Dan started his own restoration, removing the infill and leaving me with… all the red brick I could ever want! Even though they’re from the 1960s, these bricks are undetectable from the street view, and it makes me smile every time I look up at them.
Beyond the façade, there were a few others areas of structural concern that I wanted the pros to handle. This was mostly where two walls met to form a corner, or where downspouts had been missing and the damage had permeated the inner wythe (or brick layer) to the inside. Today, most brick we see is applied as a finish, and is nonstructural, but in a true brick house, your bricks are the structure, so keeping them plumb and strong is top priority.
All in all, Trisco was on site for about 10 days, repaired five miscellaneous brick areas (each about 20 square feet), repointed and relayed everything above the stone banding, and patched the decorative brickwork on the façade by hand sculpting about 40 “faux bricks” out of a masonry putty, dyed to match. The final price on this work was $26,000, and if you’re keeping track at home, this was the first major expense of the rehabilitation.
So that’s the deal with the intimidating repairs. I searched long and hard, and found a company I was comfortable with. They fixed the front of my house, and made sure the other sections weren’t in imminent danger. The owner, Tim, and foreman, Allen, were both wonderful resources that not only took care of my house, but respected my knowledge and ability. Whenever I showed them a problem and asked, “but I could probably do that myself right?” they gave me their honest opinion, and 9/10 times a resounding “yes, just shoot us a text if you get stuck”.
By the time they were finished, I had a beautiful front façade, and the motivation to tackle the other three sides of my building. Which will be the topic of my next Rehab Recap, Masonry: Part II (the amateur version)